
In my last article, I started a series on looking at how a construction Resident Engineer gets a project started (CLICK HERE TO READ IT). We looked at the initial “winter work” kind of activities, like getting your initial job “Size Up” done and how to do your first level “Drill In” plan review.
After you’ve taken the time to do your initial scan of the contract documents, you should, by now, be familiar with the project. And I use the word “familiar” because, at this point, that’s all you should be. You are still getting your feet wet – Understand that getting knowledgeable about a project takes time. It takes dedication. One step at a time…
The next step in the progression is to get your boots on the ground. To walk around. To absorb. To 3-dimensionalize your jobsite. In this article, we’ll take that step.
But Before We Head to the Site….
Let me rant at you for a second, just so we can get our collective minds right as we get into this next phase of job preparation.
I’m saying this at the outset – To be a Great Resident Engineer, YOU MUST BE THE MOST-KNOWLEDGABLE PERSON ON THE JOBSITE. Hands down. There are no two-ways about it.
Here’s an obvious fact: Being a Resident Engineer means being constantly engaged. The sheer volume of moving pieces on a construction project chess board can be daunting. Some days things are steady & controllable. Other days, lug nuts are falling off of tires from start-up to shutdown. Keeping track of the moving pieces is a challenge.
I’ve worked for many-a-Resident who ran the job from the field office desk. It’s not a model that I like. It’s not the way I work. You have to be able to balance your office duties with everything going on in the field. Mitigating issues, solving problems on-the-fly AND keeping the paperwork & the communication systems flowing is a balancing act. It requires information to be fed both up and down the chain of command, keeping both the leadership and the troopers on the ground engaged in the process.
Long ago, I found that the best way for me to put myself into a position to make good decisions was to understand the issues better than anyone in the room. I’ve always wanted to have a 3-dimensional frame of reference of the job that I am working on, or a problem that we’re trying to solve. The 80’s MBA term was known as “Management By Walking Around,” and although it’s a spanky depiction, for a construction engineer, it is a must-do if you want to be a great Resident Engineer. You need to know every square foot of YOUR construction site. Note the emphasis on YOUR….
ATTENTION: YOU CANNOT CALL YOURSELF A CONSTRUCTION MANAGER OR A RESIDENT ENGINEER UNLESS YOU KNOW YOUR SITE BETTER THAN ANYONE. YOU CANNOT PERFORM YOUR DUTIES FROM THE FRONT SEAT OF YOUR TRUCK OR FROM YOUR OFFICE CHAIR!!!
Nothing frosts my ass more than dealing with, so called, construction management types who don’t want to invest the time to get their boots muddy, to jump into the fray of the problems, to talk to & work with the guys who are doing the work, to get their fingernails dirty and actually WORK on the problem. I have little respect for Steering Wheel Jockeys who want to explain construction issues to me when they aren’t willing to pull their asses out of their truck seat and get dirty in the process. I don’t play nicely with guys who aren’t willing to engage in problem mitigation without being right at Ground Zero, on the Red “X.”
So as we begin our battlefield assessment, keep these ideas front & center in your mind. YOU need to understand the entire landscape of the project better than anyone. Don’t be a mouth-breather. Don’t expect everyone to be at your beck-and-call. YOU are responsible for the project’s welfare. That is your job. Set the tone. Don’t slack off. Commit. Do it well.
So Let’s Hit the Beach Head and Go See the Job
So assuming that you’ve already Google Earthed & Street-Viewed the site (which I’m sure you did after your boss gave you the plans, right….??), your first walk-about of the site may very-well be your first chance at seeing the job. Your brain can now start assimilating the 2-dimensional, black & white depiction of the project into the actual 3-dimensional environment that it actually is.
Let’s put first things first: Don’t freak out. Yes, I’m sure you are flush with hundreds of thoughts running through your head, much like was the case when your boss gave you the job to run. Let’s take things one step at a time, in an orderly fashion. This will help you make semblance of everything that will be running through your head.
What Am I Looking For
When I am making my initial site run, I’m soaking up information. Like a sponge. Let your brain be a registry. See as much as you can see. Retain as much as your brain housing group can handle. Write a lot of notes.
And let me be clear on one thing: GET YOUR ASS OUT OF THE TRUCK AND WALK!! You cannot learn a job from sitting in your truck staring out the windshield. Oh, you rolled the window down so you could get a better view, did you? Get out. Walk around. Get a true “feel” for the job. Walk down alleys. Look up. Look down. Let your brain record as much as it can.
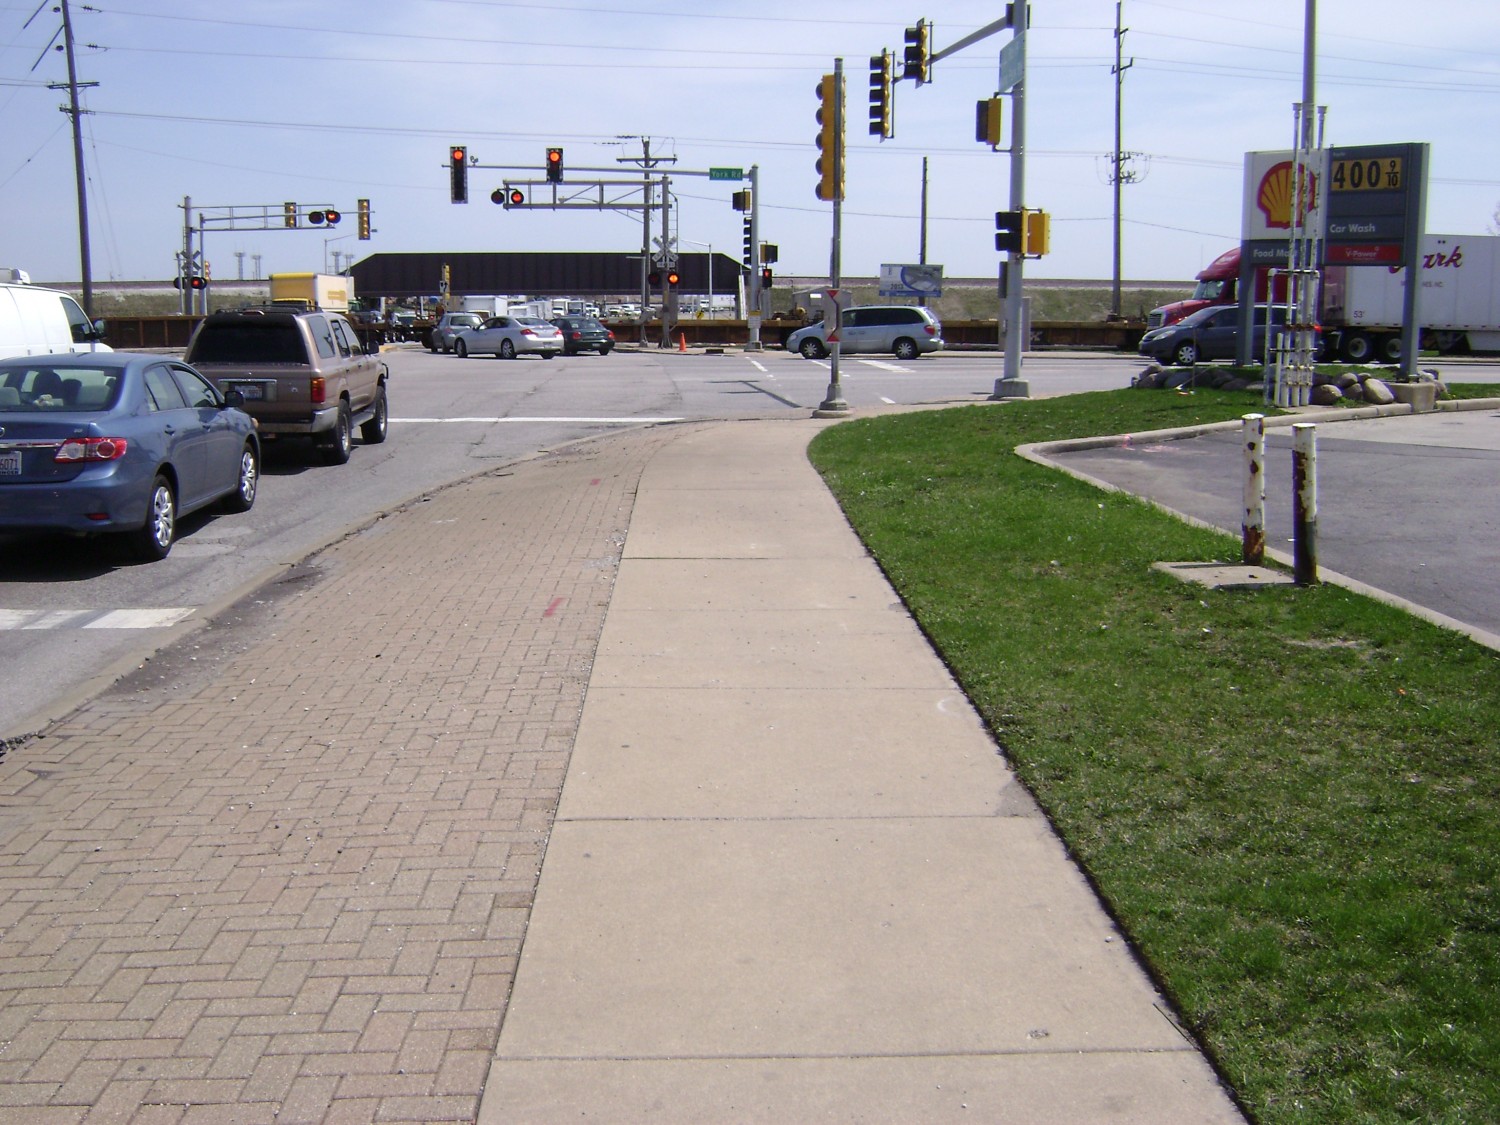
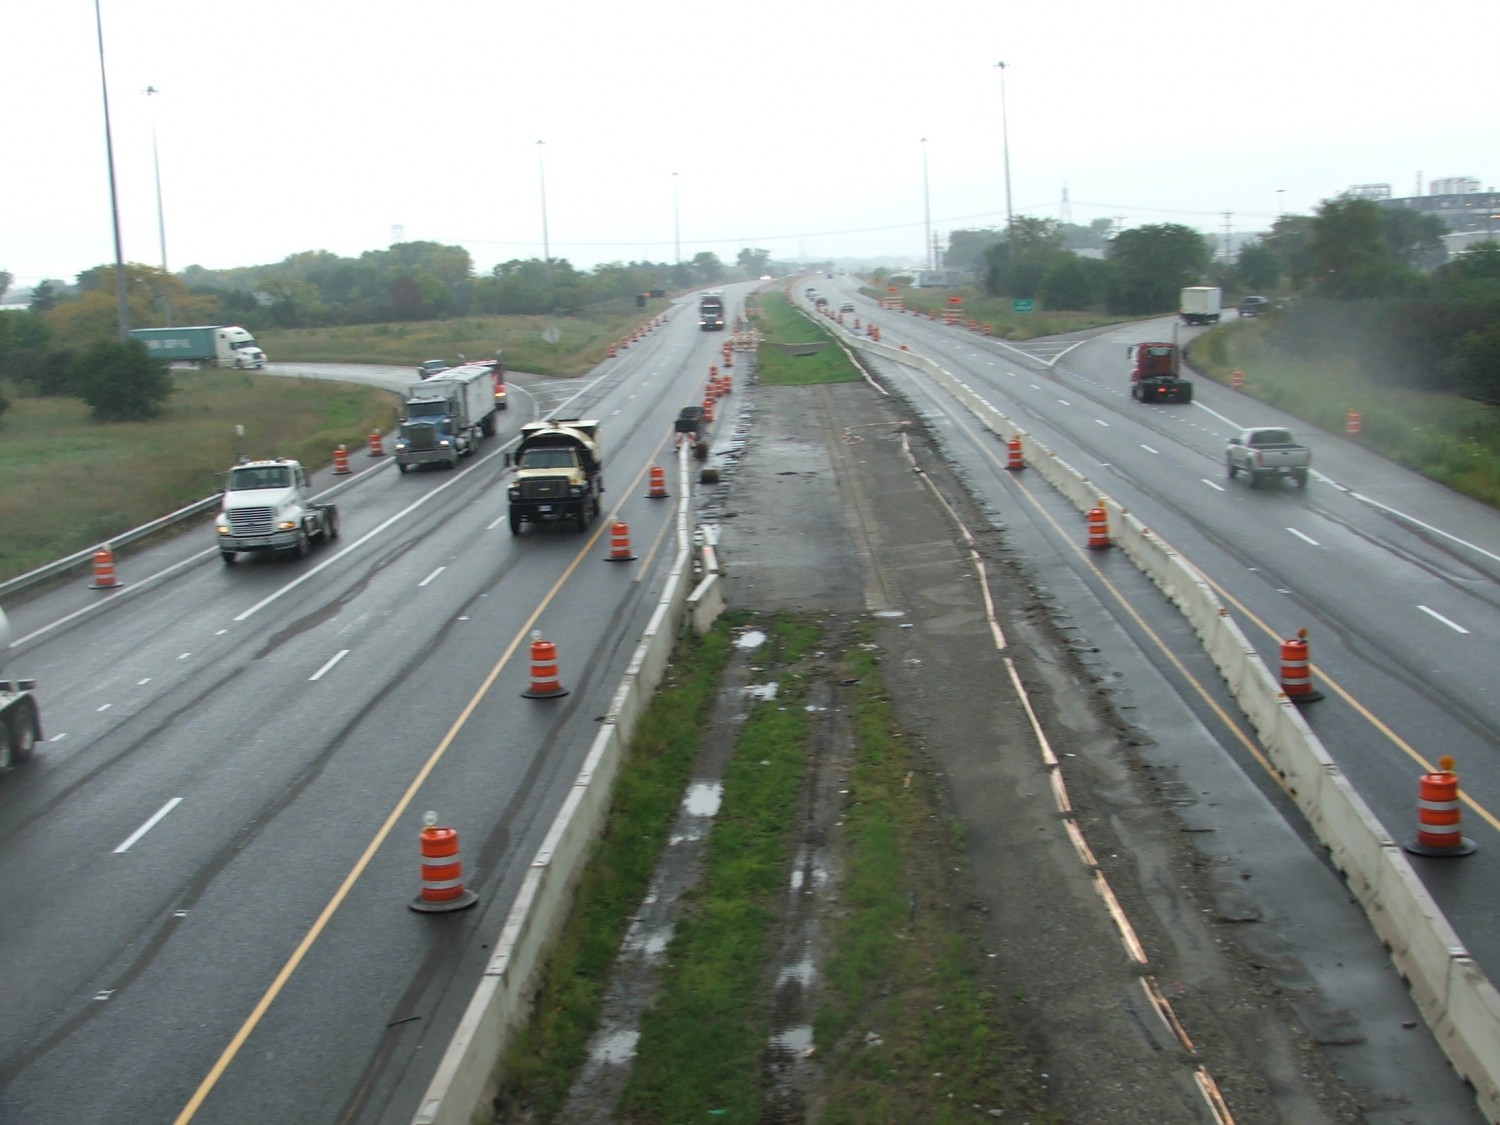
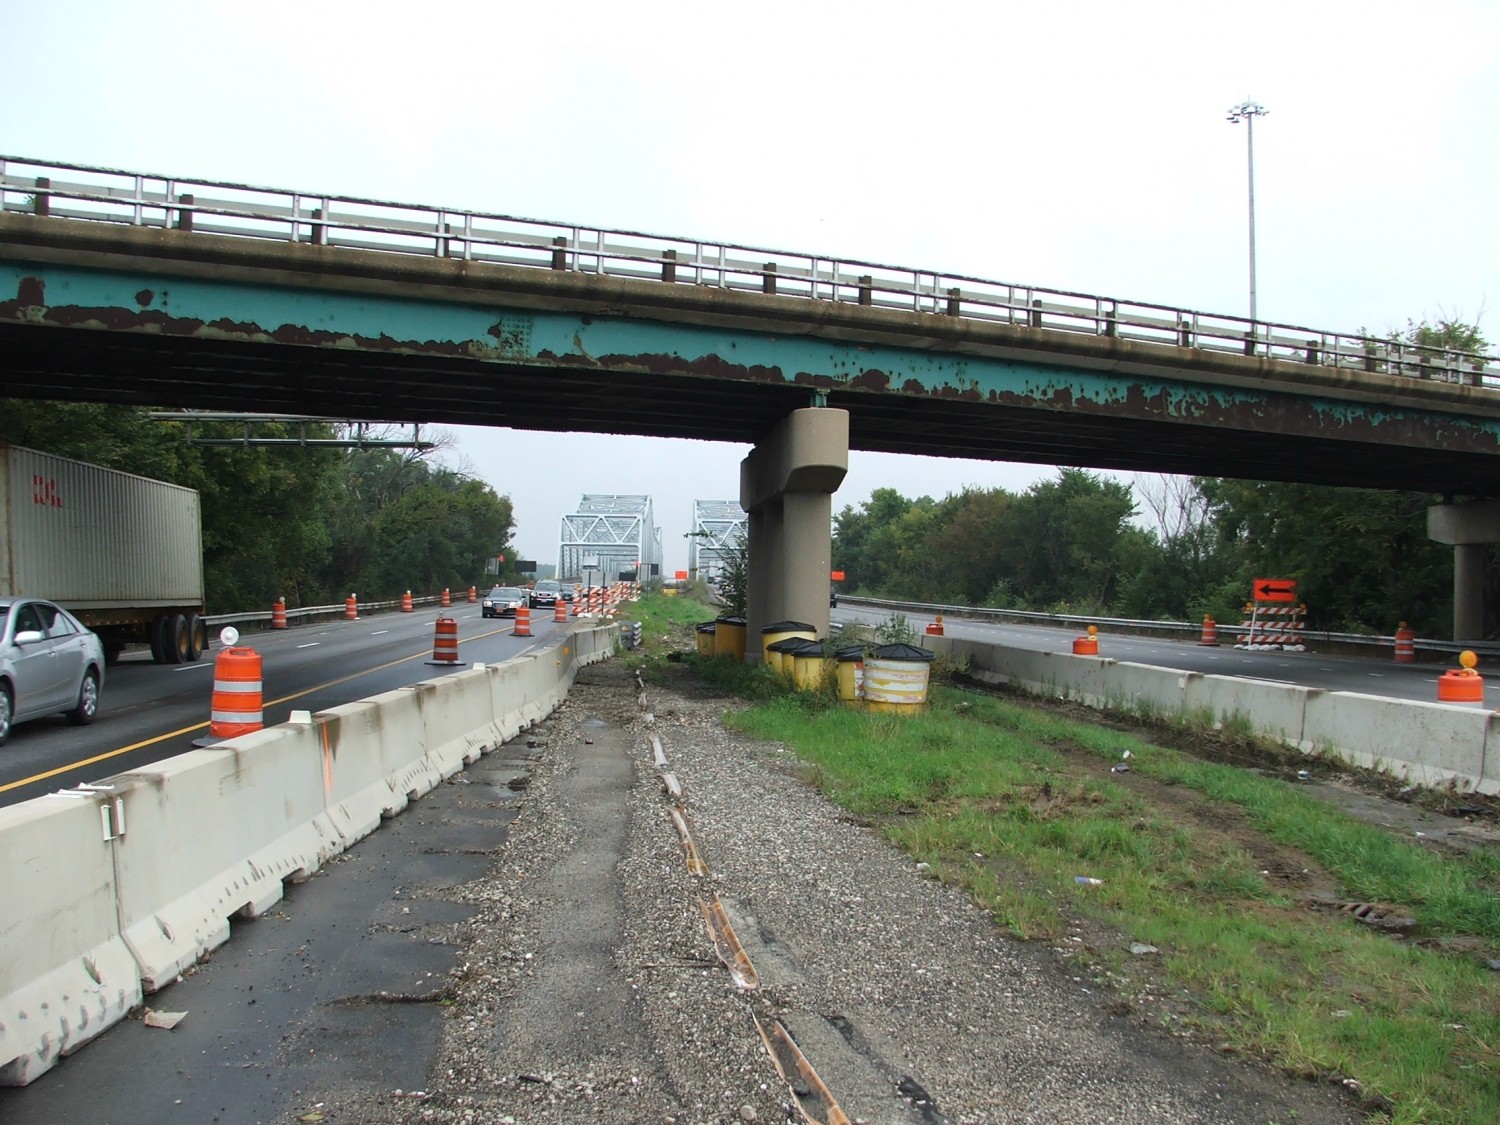
Let’s go back to our example project that we framed in the previous article. Assume that the existing roadway we’re working on looks like this:
Here’s what I’m going to be looking at:
- What are we building in this area? Where is it going?
- What are we going to be removing in order to build it? What’s currently in the way?
- Where are the utilities, both existing & proposed? How are they affected by what we’re building?
- What kinds of pay items do I see happening at this location (not specific items….)?
- How are we going to get equipment & materials where we need them?
- What does the adjacent property look like? How will our work affect their property?
-
Where is traffic now? Where are we staging them to? How is construction access managed? What kind of hazards need to be protected
This first run through the site is just meant to get the juices flowing. We want to begin to absorb the site. The features. The general lay of the land. The adjacent properties / residents / businesses. We want to understand the environment that we’re going to be working in.
While you are walking, you damn-well better be taking notes! Jot down anything that crosses your mind. Things like:
- Items to do further research on
- Conditions that look challenging
- Features that you want to better-document before you break ground
- Detailed photos and/or video that you want in your files (we’ll tackle this task later….)
- Issues that you foresee that the Designer might not have accounted for
- Plan sheets that you want to grab the next time you are on site
I like to keep my jot notes on plan sheets and not on a legal pad or my clipboard. Why? I like my notes to be related to locations, not just serving as words on a page. I like things in a graphic form. My initial walk-around mark-ups typically stay with me through much of the initial stages of the project since the notes I’m jotting down will trigger thoughts, ideas & actions that I need to take later on.
Do plenty of referencing, jotting & marking-up of the plan excerpts you have.
Here’s the goal for this walk-about: When you get back to the office, you should have a laundry lists of things that you want to further research. You should be able to describe to your boss & your team some of the challenges that the job will bring. Does the job look like it will be a slam dunk? Or are we walking into a war zone?
Now that you have a feel for the site, combined with your basic knowledge of the drawings, you are in a position to really dig into the job. The questions that jumped into your head while you were walking around now need to be reviewed & answered.
“Build It In Your Head” First
To this point in our job reconnaissance activities, I’ve purposefully avoided digging into the details of the job. That’s up until now – Now that you have a decent handle on the scope of the project. You should start thinking on both the macro AND micro levels, understanding the design features & their inter-relationships.
The terminology that I have used for decades is to “Build It In Your Head.” Dedicating the time & mental energy to craft the process, from demolition to excavation to installation to the finishing touches is a key attribute of any good Resident Engineer.
What you are essentially doing is playing Contractor Superintendent. You need to, essentially, assemble a soup-to-nuts roadmap for transforming the site from its existing conditions to the finished product. You are developing an actual battle plan for what needs to be built, the sequence it will be built in, and what parameters will affect the actual construction process.
Ask anyone who has worked with me: How many times have they seen me standing on site staring? Literally, just standing in the middle of a work zone staring at it? I do it. I do it A LOT. It’s my way of putting the puzzle pieces together. It’s how I think about the next three or four moves that need to be made in an area of the job. It’s how I anticipate problems that nobody has thought about yet. It’s how I troubleshoot issues that have cropped up. It’s how I “Build the Work In My Head.”
Here are some outline ideas that you should be assessing while you work on Building the Job in Your Head:
Understand Construction Impacts on Vicinity
- Access points – Construction equipment, staged traffic, business & residents, utility service providers
- General safety – Hazards to traffic, clear zones, pedestrians, obstructions, ditch conditions
- Demolition & installation – What types of work will be taking place in this area? How will the area be managed & maintained?
Understand Off-Site Impacts
- Utilities – Where are they? Are they staying or being relocated? What utilities are we installing in this area?
- Overland flow – Where is the site currently draining? How is the proposed grading & drainage altering this area? Does the design accommodate the proposed elements?
- Adjacent property owner impacts – How is the work going to affect the neighbors? How will they access their property? Do we need to make accommodations for them?
Understand Earthwork Operations
- Topsoil management – Where are we stripping? Where is it going? Are we reusing it? How are we paying for it?
- Borrow vs. Haul Off – Where is the earth that is being removed going? Are we stockpiling? Will we be importing material? What information do we need to quantify the volumes of material being moved?
- Off-site Materials – What information will we need to accept the materials on-site (site approval, proctors, etc.)
- Haul-off Approvals – Do we have special / non-special waste? How is removal of this material going to be management?
- Soil Conditions – What types of soils will we be working with? Do we anticipate water table issues that we’ll need to contend with?
- Waterways – Do we have any in-stream work to execute? Wetlands? What approvals / oversight are required?
- NPDES / SWPP Issues – What types of sediment issues do we foresee? How will we control erosion? Do we have the appropriate pay items to mitigate & control jobsite-produced effluents?
Understand Site Logistical Issues
- General jobsite access – How will we be getting labor, equipment & materials in and out of the site? Trucking? Deliveries? Paving train access? Haul roads? What do we need to document as existing conditions before the area is put to use?
- Laydown & Staging – Is there on-site space for storing equipment & materials? How does this area affect adjacent traffic?
- Vertical Issues (Above)- What are we building in the air? Clearance? Airspace? Where are we using cranes or lifts? Do we have aerial utility issues that need to be addressed / mitigated? Bridges? Overhead signs? Lighting?
- Vertical Issues (Below) – What kind of work will require excavation? Any deep excavations? How are soil retention requirements going to be navigated?
Understand the Existing & Proposed Utilities
- Where are the existing utilities? Are they in conflict? Are they being relocated or worked-around?
- Interaction – How do the existing & proposed utilities co-exist? How do the elements we are constructing cohabitate with them? Does everything fit together?
Understand the Existing Structures
- Elements to Remain – What are we preserving? Pavement? Walls? Bridge beams & girders? What are we going to be retrofitting? Repairing?
- Start-up Investigation – What structural elements need a pre-construction assessment? Chain dragging decks, approaches or pavements? Sounding piers, columns, parapets, decks? What do we need to document as existing conditions? How & when are we going to access these areas?
- New Structures – Where are new structural elements going? Are we tying our new work onto existing elements? What accommodations need to be made? What are the spatial needs? How are the adjacent areas going to be affected by the construction?
Hopefully you’ve noticed something about this laundry list of items: These items are meant to get your “Mind Gym” working. These are broad brush strokes. This isn’t a “To Do List.” We are looking at the project holistically from the eyes of the Battle Commander. We are thinking like a Contractor. We are fitting big blocks of issues & working them together.
Now you’ll be actively flipping through contract information: Pay item lists, quantities, cross sections, plan details. You are now anticipating issues & problems before they occur.
And now, since you are becoming more-familiar with the documents, your questions are becoming more tangible. You will stumble onto questions & issues that you cannot answer and that need the Design Engineer to address. Start developing your “Requests for Information” type questions that you want to formally ask the Designer.
Parting Words
As we prepare to move to our next step in the job set-up process, I have one more piece of advice: Stay organized.
At this early stage in the project, you are likely being inundated with information. Questions are coming at you from other people, and you are developing questions that you need answered. Issues are starting to pop up. Emails are starting to hit your in-box requiring your attention.
Welcome to The Bigs!!! (I have a big smile on my face as I type that…!!)
Staying organized is one of the key attributes to running a successful construction project. Yes, being a good leader, making good decisions, being a great servant to your client / agency are hugely important. But they all stem from your ability to keep things organized.
Go back to my article on my Project Manager’s Open Issues List (CLICK HERE TO READ IT). Start getting yourself & the issues that are crossing your desk organized. Keeping issues on lists and not cluttering your mind frees you to focus on new problems & issues. Now is the time to implement your organizational system: Get after it.
In my next post, we’ll get our gear racked and hit the field again, but this time, we’ll start assembling information related to the existing site conditions. This is a crucial step in the project documentation process – and we only get one chance to do it.
Be the first to comment