
COMMANDERS DRIVE THE OPERATIONS PROCESS
“Commanders are the most important participants in the operations process. While staffs perform essential functions that amplify the effectiveness of operations, commanders drive the operations process through understanding, visualizing, describing, directing, leading, and assessing operations.”
–Army Doctrine Publication No. 5-0 – “The Operations Process”
In this, the final article on pre-job planning activities, I thought that the excerpt from the U.S. Army’s “The Operations Process” was a fitting way to set the tone for this article.
You’ve had time to run through the plans. You gotten a chance to spend some time on the site. You have a general idea of what we’re building, where we are building it and what some of the challenges we might face are. And you’ve gotten your field office & administrative systems set up.
Our last job planning activity will be to gather all of the field intelligence that we have access to. We will be embarking on documenting the jobsite’s existing conditions and preparing for construction.
But before we get started…
It’s Time to Have a Crucial Conversation with You….
Let me talk about something that, at this stage of the game, you might be experiencing.
To this point in your gear-up, you’ve been reading the plans & specs more like an instruction manual. You’ve just been getting your feet wet. How does this thing work? What do the buttons do? You’ve been trying to digest a lot of information and put pieces together, even though your head is jumbled with the myriad of information that is coming at you from lots of different directions.
Now we need to switch gears: You are no longer a bystander – It’s time to take ownership.
You need to shift your mindset (if you haven’t started to already….). You are no longer a role player on a team where other people made the decisions and you worked in your little cocoon: YOU ARE THE RESIDENT. YOU ARE IN CHARGE. YOU ARE RESPONSIBLE.
From here on out, people will be looking to you for knowledge. For advice. For expertise. For direction. At this point, you are going to be the “Go-To” for this job. You need to be ready to advance the troops into battle.
You need to be ready & willing to take ownership of YOUR project.
The construction site has now become your battle field. You need to have as complete of an understanding of it as anyone involved with the project. From now on, all of the details & nuances of the site have become yours to understand. So treat your responsibility in this regard.
Making this mindset shift is critical to being an effective Resident Engineer. Accepting total responsibility, total ownership of the site, the project & your role is crucial.
By changing your mindset into one of ownership, you will be shifting your focus from just being part of the project to being a leader of the project.
Front-sight focus. Goals. Direction for others. Priorities. Trouble-shooting. Resource utilization of the crew you are working with. Oh, and don’t forget about the Contractor – Hell, we haven’t even talked about that yet.
Stay humble. Remain grounded. Don’t let your ego get in the way. Be ready to grind every day. You will do fine.
So let’s get out there and get after it.
Document the Existing Conditions
One of the most important job start-up activities is documenting the existing site conditions.
Don’t take this activity lightly. It is VITALLY important.
There is one key factor that sets the need to do a complete & thorough job of assessing & documenting the existing conditions: You only get one chance to do it. If you miss it, you can never go back.
Having adequate, appropriate, detailed, thorough records of what the site looked like before you began construction is vital.
Here’s what happens on virtually every project that I’ve been on. The conversation might go something like this:
ME: You guys stockpiled all of your broken concrete in the Walgreens parking lot, remember?
CONTRACTOR: No we didn’t…
ME: Yes you did. Here, see, here’s a picture of the stockpiles with an end loader scraping it up and loading it into a dump truck!
CONTRACTOR: Oh yea, you’re right…
ME: And now look at all the pavement damage that you guys left behind. And all the pavement markings are scraped up. You have to fix it. And we’re not paying you for it.
CONTRACTOR: That damage wasn’t from us. That parking lot looked like that before we started…
ME: Oh c’mon, are you serious?
CONTRACTOR: Oh yes, I’m telling you it did. Do you have a picture of what it looked like….?
ME: Uh…..
That example happens all the time. I’ve seen it happen. I’ve lived it. It sucks.
And this is just one example. Removal quantities disputes. Scratched light poles. Missing roadway signs. Broken manhole frames. Residential driveways with cracks in them. On and on the list goes….
You & your crew need to gather & record as much existing information as possible before the work starts. You need as many records as you can possible take. You want to avoid being in a position of not knowing what the conditions looked like.
Before You Head To the Site….
Let’s make sure we’ve got the tools & gear that we need in-hand (or in our truck):
Excerpts of the Plans
OK, so here’s a tip: Don’t be the mouth-breather who brings the entire 450-page set of drawings with you to walk around the site. Be smart. Prepare yourself. All you need to have is one complete set of sheets that show the improvement. I like to have 3 groups of drawings with me:
–Existing Conditions,
–Existing Utilities sheets
–Proposed Utility Plans
Here’s the deal: You are touring the site. You are walking around and preparing to record notes to yourself about conditions you observe. Don’t over-complicate this task. Travel light.
Camera
Bring whatever device you have access to, just make sure you’ve got enough memory on-board because you’ll be using it
Sewer Hook, Sledge, Gloves & Light
Since you did your initial review of the sewer system, you’ll want to pop some manhole lids to have a look in the ground. Bring a sledge to bang the lids loose.
Securing the Site’s Initial Conditions
So let’s head-out. Here’s what we need to get documented:
1. Pictures & Video
Take hundreds. Maybe take a thousand. I’m not kidding. Digital memory is virtually free. And all it will take is the right picture, taken at the right location at the right angle.
Get as many pictures as you can. Pavement conditions. Driveways. Adjacent buildings. Utility poles. Landscaping. Fences. Signs. You name it: Get a picture of it.
Here’s why: Inevitably, someone will want to know what “it” looked like. As I presented in my little dramatic scenario about the parking lot damage, go ahead and insert whatever “it” is and, believe me, somebody, at some point, will ask. You will be challenged about a condition. A nearby resident will come to you and say “My driveway wasn’t settled like this before you guys started…” Can you disprove it? You better be able to adjudicate his concern. Pictures are a fool-proof way of doing that.
Set a mindset for yourself as you embark on taking pictures or videos: Assume that you will be challenged by someone after the project is complete about something about the existing condition. Have your evidence ready to go.
Don’t worry too much about naming picture files with locations or streets or anything like that. You’ll waste your time. When you dump your files, use the file structure to index the pictures’ locations. When the time comes for you to recount an issue, you’ll be scrolling through pictures like slides, not looking for a file name. Keep it simple.
And if you have enough memory available, video is another beautiful way of further-validating your photo records. I like to drive the project with the camera on the dashboard, more so for documenting traffic staging configurations. Take panoramic videos of different locations on the site. If pictures are worth 1000’s of words, video can be worth 10,000’s….
2. Trees
The next set of conditions we need to validate are existing landscaping conditions.
This is interesting: When I broke into the industry in the ’90’s, nobody gave a hill about trees. If they were in the way, they got cut down. If limbs were in the way, they got cut down. Trees were treated as a nuisance to construction. And nobody ever really cared about trees – Don’t worry, they’ll grow back
Today, that attitude would be considered blasphemy. If I ran a job like that, I’d have the Sierra Club demanding I’d be thrown in jail for willful disregard to plant life.
How times have changed.
Trees require protection. And their conditions need to be thoroughly documented. So here’s what you have to do: Take pictures. Like crazy. Trunk. Limbs. The house & sidewalk & driveways around the trees. Don’t be bashful.
You likely have tree protection pay items: Use them. Liberally.
You’ll also want to get in-touch & spend some time with the forestry department or rep for the village or DOT that you are working with. Have them come out and inspect the trees before you get going. Get her insight on how to treat the trees that will be affected by the work. She may allow you to remove them. She may have pruning concerns. Get her input before you start anything.
One of the things you’ll want to look at is pruning, both limbs and roots. Hopefully you’ll have pay items to cover this work. Most specifications will require that the contractor performing any work on trees is a certified arborist. Again, it’s very useful to get the contractor’s tree guys together with the agency’s landscape specialist and let them decide how best to manage the trees.
Also, get all the trees measured-up, both removals & non-removals. If it’s a tree, measure it. Chart the measurements in a field book or on a site map that you’ll keep specifically for existing condition documentation. My philosophy is if it is in or adjacent to the work zone, I want to document it’s size & condition. And don’t forget to get any acre area removal items measured up.
3. Sewers
Spend some time checking the existing storm & sanitary sewers. Start popping lids. Record what you see.
Let’s go back a step: You previously built your highlighted utility atlas, right (CLICK HERE FOR THE ARTICLE WHERE WE DISCUSSED THIS). Do the due-diligence and validate if the contract documents are correct:
–Are all the laterals shown correctly?
–How is the flow in the structure? Heavy? Light?
–Is there debris in the structure?
–What kind of condition is the frame? Lid? Adjusting rings? Pipe penetration & structure walls?
–Is this structure called out on the plans to be adjusted? Reconstructed? Does it have the integrity you need to carry out the proposed work?
Grab your camera & turn on the light. Get a few pictures of the interior of the structure. Be prepared to discuss any potential issues that you’re finding with the contractor. Plan the work then work the plan, right?
4. Demolition Quantity Measurements
To bake a cake you need to crack eggs, so start getting the eggs counted as soon as you can.
Demolition measurements seem like they would be simple to document, right? Driveway aprons. Sidewalk. Curb & gutter. Light poles.
Yes, these are intern-level measurements & calculations that can be performed by anyone on your crew.
Here’s the issue that stings a lot of construction engineers: Keeping track of what’s been measured.
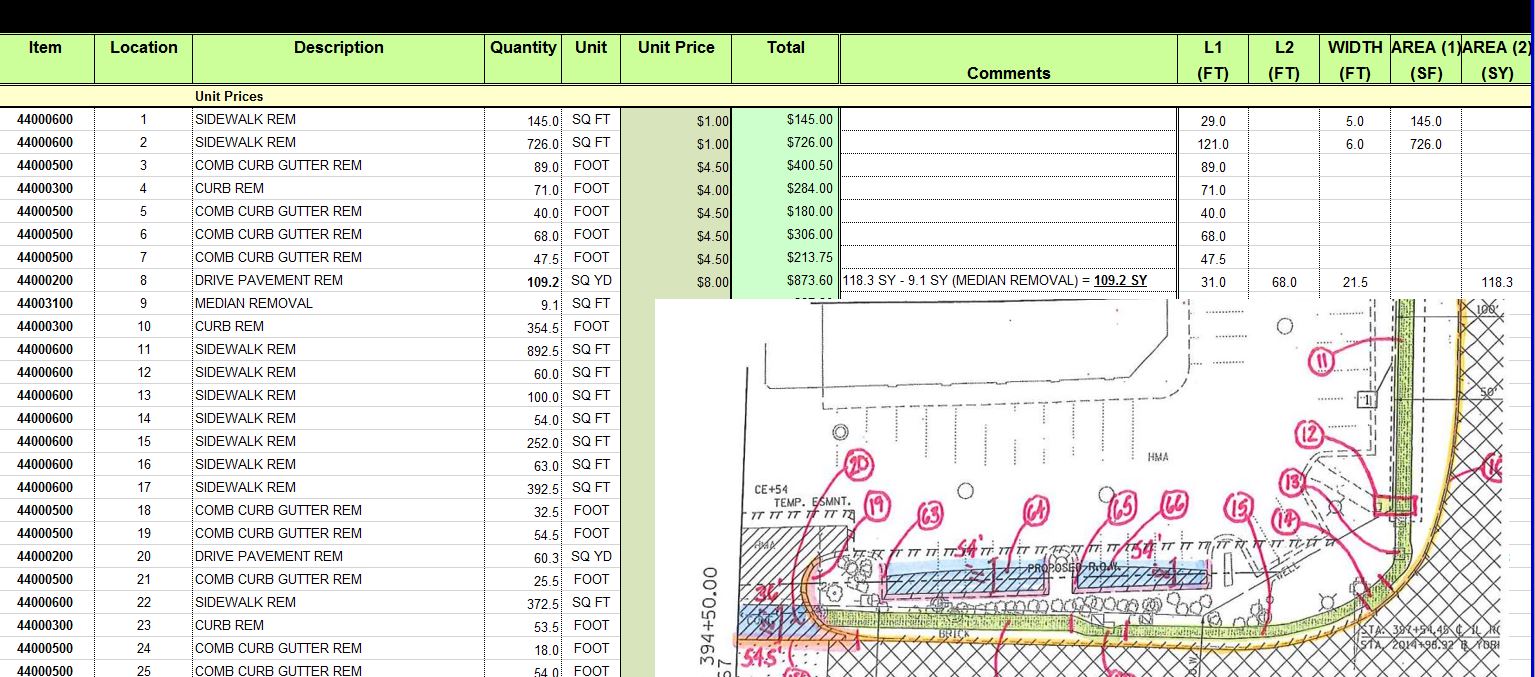
One of the biggest problems with removal quantity tracking is exactly that: Tracking. You need to have a system in-place to keep track of what’s been measured, what’s been removed & what “still” needs to be removed.
Wait a minute: Bob, what “needs” to be removed? I’m out here getting ready for the job – The Contractor is just gonna bring a big backhoe into the job and rip everything out, right?
Ah, not so fast grasshopper….
Virtually every aspect of a construction project is tied to lots of variables: Schedule, phasing, traffic staging, coordination, etc. Sometimes, the general contractor will parcel out certain removal items to the subcontractors. Staging might require driveway aprons to be removed in stages. Roadway pavement is almost always removed in stages. How are you going to keep track of each of the “chunks” so at the end of the project your final removal & demolition measurements reflect what was actually there when you started?
I don’t have any magic pixie dust to give you. You need to have a system in-place.
I won’t push you out in a boat without giving you a paddle, though. Here are a couple of thoughts for you to consider.
A. Pre-measures & Partial Payments
This is an easy & obvious suggestion: Get everything measured up before construction starts. Eventually, it will be removed so you can, essentially, develop your job-final quantities now. Keep in mind that a lot of items will require the surveyors to layout match locations. Or, you may be doing the removal layout yourself. Be sure to keep track of what you have good measurements on and what you don’t.
B. Consider Using Survey-Based Measurements
In recent years, government agencies have broadened the ability of construction engineers to use GPS or total station-type measurements for quantity derivations.
I am going to walk very gingerly through this item since it is a very broad topic that I might like to cover in a future article. Our company has dabbled in this technique over the past several years with very good success. But as with anything, it requires a lot of planning prior to executing its use.
The basic premise of this method of quantification is using the existing conditions survey that your crew performs as the data set for deriving the areas of removals that you have on your project.
Let me take you through a quick example. Let’s look at pavement removal.
One of the hardest removal quantities to measure & calculate is pavement removal, particularly when you are dealing with an active section of roadway. Measuring pavement widths is a pain in the ass. On a lot of projects, quite frankly, trying to deal with traffic makes the task next to impossible.
Assuming that your project is large enough to require you to maintain a survey crew (either part- or full-time) you’ll be having them shoot a fresh topography survey of your site. Using this method, you can use those shots as a basis for your removal measurements.
Most agencies are now allowing engineers to use CADD / Microstation to derive area calculations.
The process from getting field survey data formulated into a job quantity takes some time & effort but it takes a lot of planning prior to implementing & executing.
(I’ll do a detailed Dirt Dive into this subject in a future article….)
And while you are preparing your documents, make notes & take inventory of the other odds-and-ends that we’ve talked about previously:
- Sounding / Chain drags?
- Pavement patching recon
- Any salvage materials requirements
- Frame & lid inventory, other salvage items to be returned to IDOT/CDOT/Village
- Prep for lighting / traffic signals inventory & turn-over
- Existing pavement thickness checks
Early Survey Verification
There is a whole lot of work that your survey crew needs to take care of before the project starts up. The best advice I can give you: Get your survey crew on-site as soon as you can.
Here’s a chip that I need to implant into your brain: Surveyors carry an immensely heavy burden on them. Unless you are a surveyor or layout technician, or someone who is involved with making sure that things are built in the right place, you have no idea what stress really is. As the Resident, you need to make it a priority to do everything in your power to make the surveyors’ jobs as easy as possible.
There is an unfortunate trend in civil engineer: Surveying isn’t well-taught. In many degree programs, surveying is an elective. Some engineering grads are coming out of school and have never used a level. It’s a damn shame. Having proficiency in surveying principles, knowing how to run a level loop, or a topographic survey with a data collector, or having the ability to layout points should be part-and-parcel of being a Resident.
Get yourself educated in the tasks that your survey crew will be executing. Take the time to learn & understand. Ask questions about the parameters that the crew will be operating under to execute their work. You need to understand what is associated with things like:
–Setting, locating, resetting & checking survey monuments , ROW markers & easement locations
–Running control loops, checking control points & benchmarks
–Developing the existing topography survey & what is involved with producing surface models & cross sections
–Setting out & checking stationing
–Comparing your survey crew’s bench & control point measurements with Contractor’s layout crew’s information
–Using GPS for various types of measurements
–Checking utility connection points & pavement tie-ins
It’s a laundry list of knowledge that you need to be proficient in. If you are proficient, Godspeed. If you are not, then it is a sign that you are missing acumen required by a good RE. Set a Course of Action for yourself and get after it.
The bullet-point list of tasks I just mentioned all need to take place before you break ground. Yes, it’s a long list. And yes, it will take your crew time to knock-out all of these tasks. Get them on-site. Give them the time they need. Nobody wants to set foot on the job for the first time the night before the pavement is going to be milled.
Close-Out
The bottom line to this post, and the rest of posts in this series that I’ve assembled, is to give you depth perception. And the swamp you are readying yourself to enter is really, REALLY deep.
You have a bucket-load of things to do. And whatever you don’t get done, somebody on your squad will need to tackle. These tasks don’t go away. Sure, you might be able to side-step a few of them, or maybe skip some altogether. Here’s my advice: DON’T BE A SLACKER!! It’s easy to skim through a checklist, or go through some bullet points and think to yourself, “Hey, it will be OK, I got this. Somehow, we’ll get it all done…..”
Wishing isn’t planning. It isn’t managing. And it certainly isn’t being a professional. Be a pro. Be at the top of your game. Chart a course that pushes you & your crew beyond mediocrity. Get yourself organized, put a To Do list together and start executing tasks, one by one.
I hope you’ve enjoyed reading this series of articles as much as I’ve enjoyed assembling it. Whether you are a seasoned veteran or a first-time RE, there are always opportunities to improve. Take the time to review. Reinforce good habits & cast-off ones that aren’t serving you well. Add a couple of items to your toolbox everyday. Use these articles to your advantage.
Get After It!!!!

Be the first to comment